Monteringsvejledning
For at spare på ressourcerne bruger Quirky Moose digitale vejledninger i stedet for papir. På denne side finder du monteringsvejledningen til dit produkt. Tak, fordi du støtter en mere bæredygtig fremtid.
Færdig med monteringen?
Vi elsker at se vores produkter i jeres hjem. Tag @QuirkyMooseCPH på Instagram og vis os resultatet.
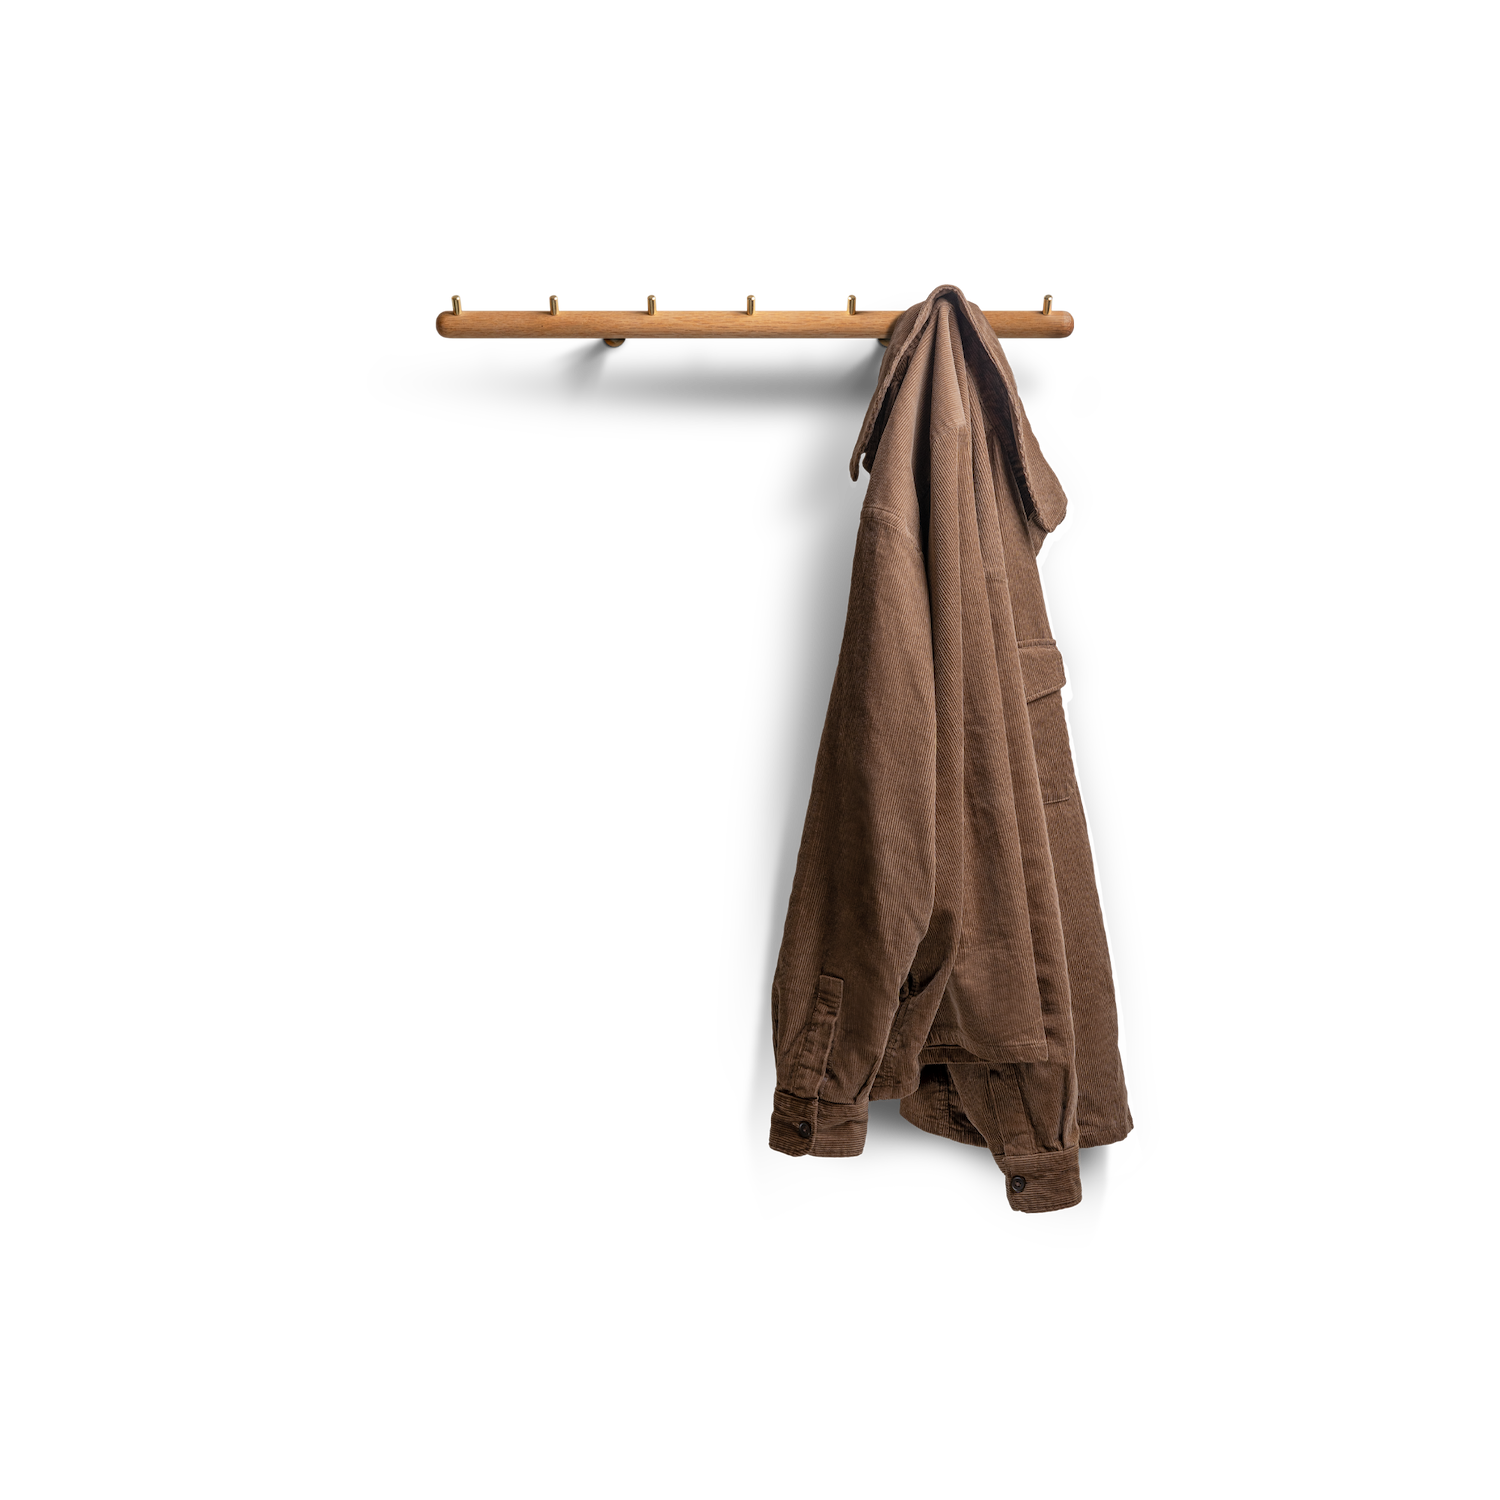
Adapt – knagerække
Værktøj, du skal bruge:
- Boremaskine med 10 mm bor
- T25-bit
- 3 mm unbrakonøgle
Medfølgende dele:
Pakken indeholder alle de dele, du skal bruge til monteringen. Afhængigt af den valgte størrelse er det:
- 1 x Adapt knagerække (med forudmonterede pinolskruer)
- 2 x T25-monteringsskruer (3 x ved 150 cm / 3 x ved 200 cm)
- 2 x rawlplugs (3 x ved 150 cm / 3 x ved 200 cm)
- 2 x messingkapper (3 x ved 150 cm / 3 x ved 200 cm)
- 2 x messingskiver (3 x ved 150 cm / 3 x ved 200 cm)
Sådan monterer du:
1. Mål op og markér
Hold Adapt-knagerækken mod væggen i den ønskede højde. Brug et vaterpas, så den sidder lige. Markér monteringspunkterne på væggen ud fra stifterne på bagsiden af knagerækken.
- Bemærk: Afstanden mellem stifterne varierer fra model til model. Mål altid op på netop din knagerække.
- Vigtigt: Tjek væggen for skjulte rør og el-ledninger med en søger, før du borer.
2. Bor hullerne
- Murværk/beton: Bor i de markerede punkter med et 10 mm bor. Bor til en dybde på 70 mm, og hold boret vinkelret på væggen.
- Trævæg: Brug ikke 10 mm boret. Forbor i stedet 6 mm styrehuller til monteringsskruerne. Du skal ikke bruge rawlplugs i træ.
3. Sæt rawlplugs i
Sæt de medfølgende 10 mm rawlplugs i hullerne (kun murværk/beton).
4. Sæt monteringsskruerne i
Sæt en messingskive på hver T25-monteringsskrue. Skru monteringsskruerne i væggen (eller i rawlpluggen) med T25-bitten, indtil skiverne sidder helt ind mod væggen.
5. Sæt messingkapperne på
Skub messingkapperne hen over de synlige skruehoveder.
6. Hæng knagerækken op
Ret bagsiden af Adapt-knagerækken ind efter monteringsskruerne, og tryk knagerækken på plads. Spænd de forudmonterede pinolskruer med 3 mm unbrakonøglen, så knagerækken sidder fast.
Rengøring og vedligehold
- Træ: Behandl med møbelvoksolie efter behov.
- Messing: Puds med ståluld i finhed 0000. Du kan eventuelt lakere messingen for at undgå patina (ælde).
Har du spørgsmål til monteringen, er du altid velkommen til at kontakte os.